OpenCVCamera/CameraViewer and Simple OpenCV Sample RTCs
This sample is included with OpenRTM-aist C ++ Windows version. Note that OpenRTM-aist is not included in the C ++ version and you need to build and install them on Linux by using OpenCV Sample Code Build Procedure. It is not included in the Python version or the Java version.
Overview
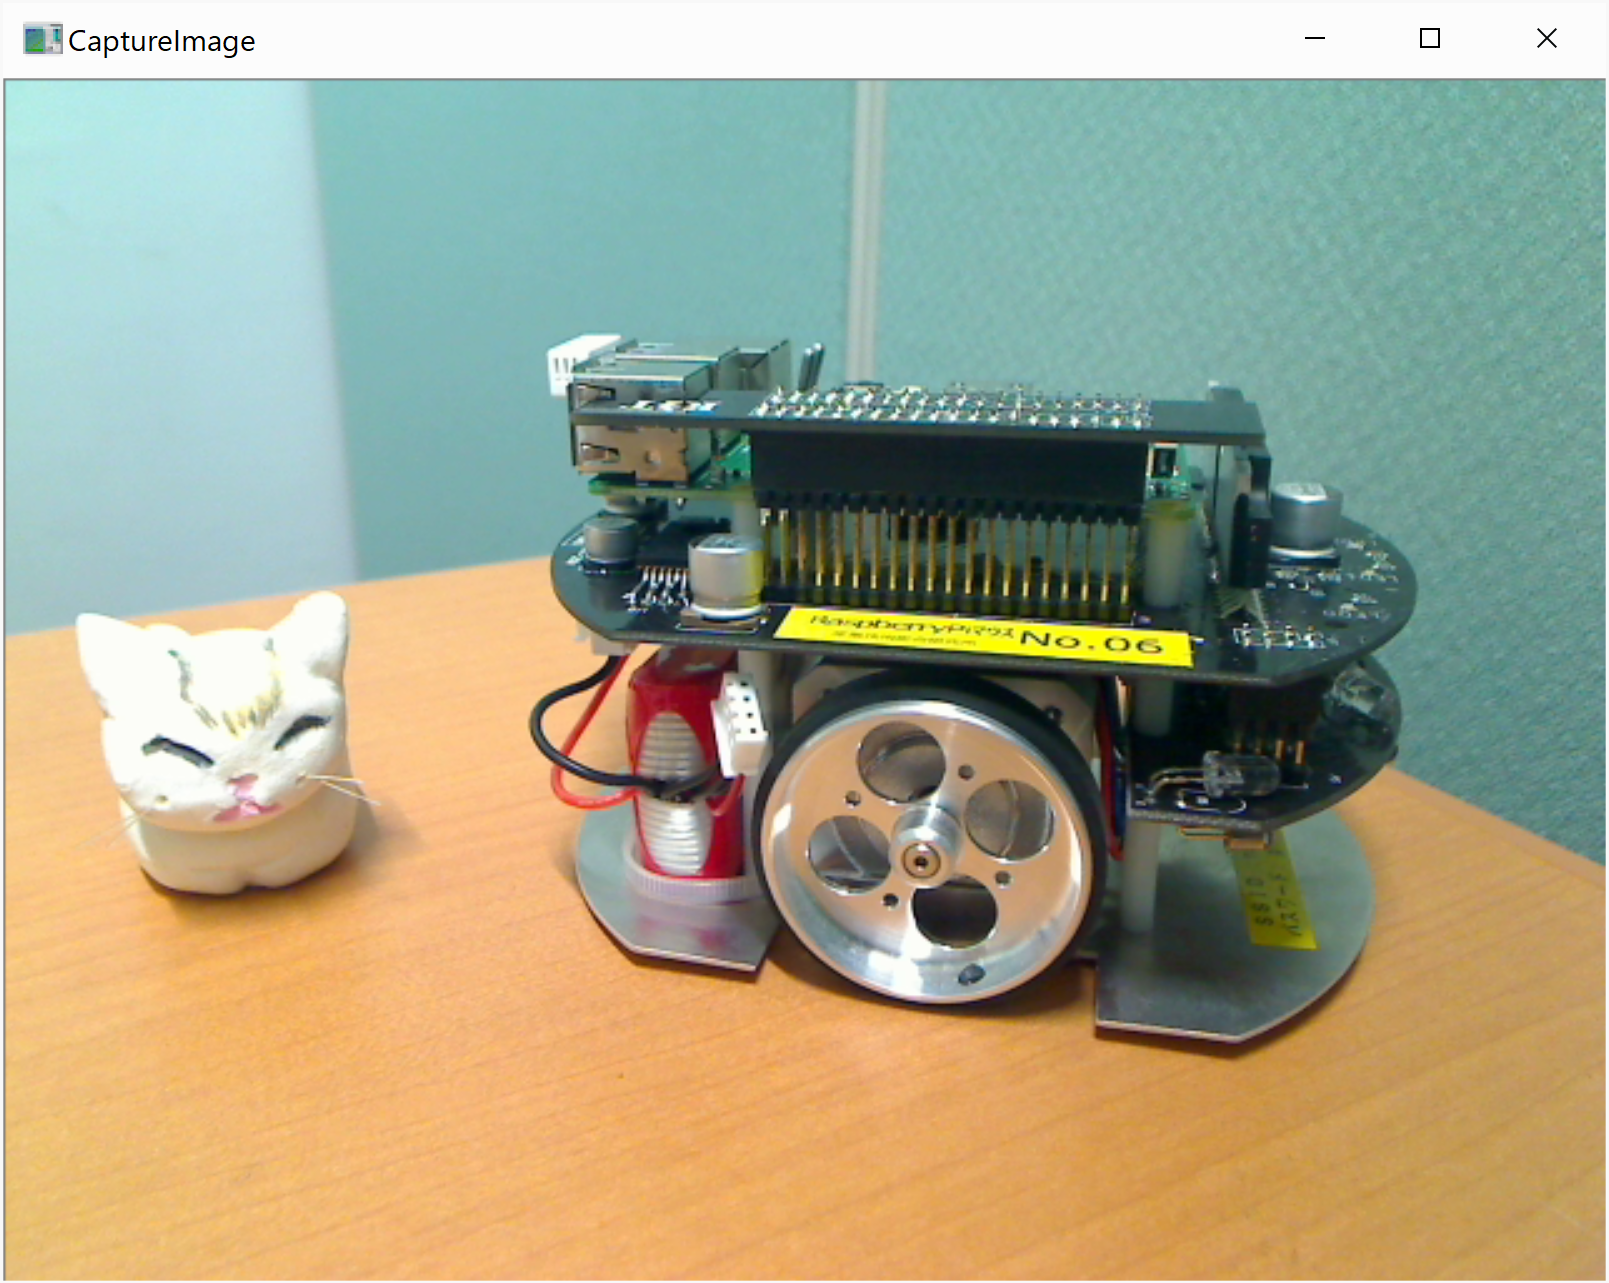
By starting OpenCVCamera and CameraViewer, the image of the USB camera is displayed on the monitor. You can connect the OpenCV image processing sample RTC component and apply effects.
Start Screen
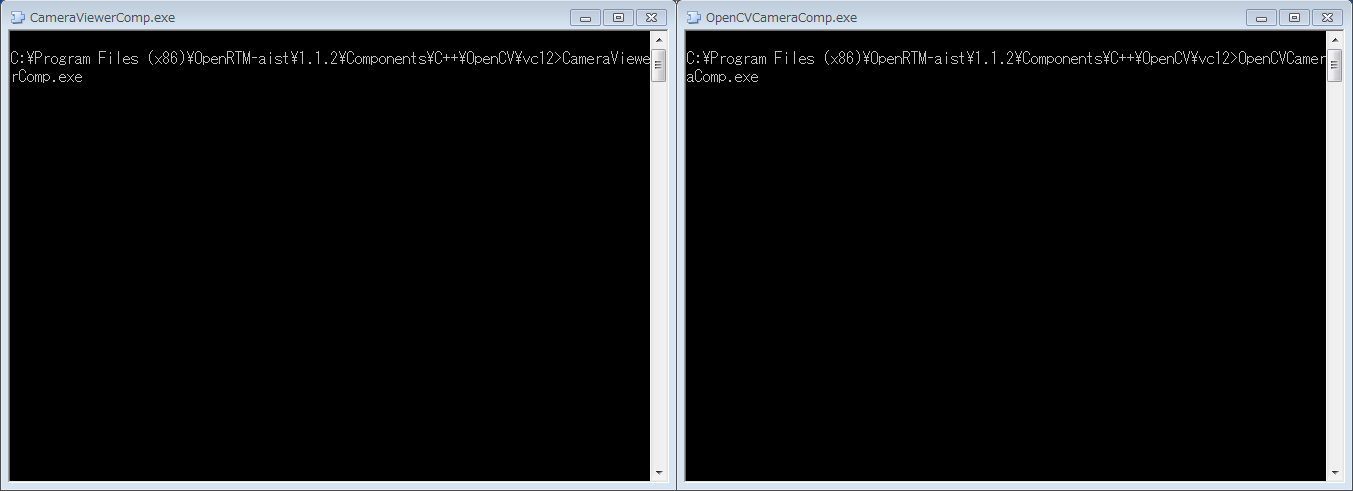
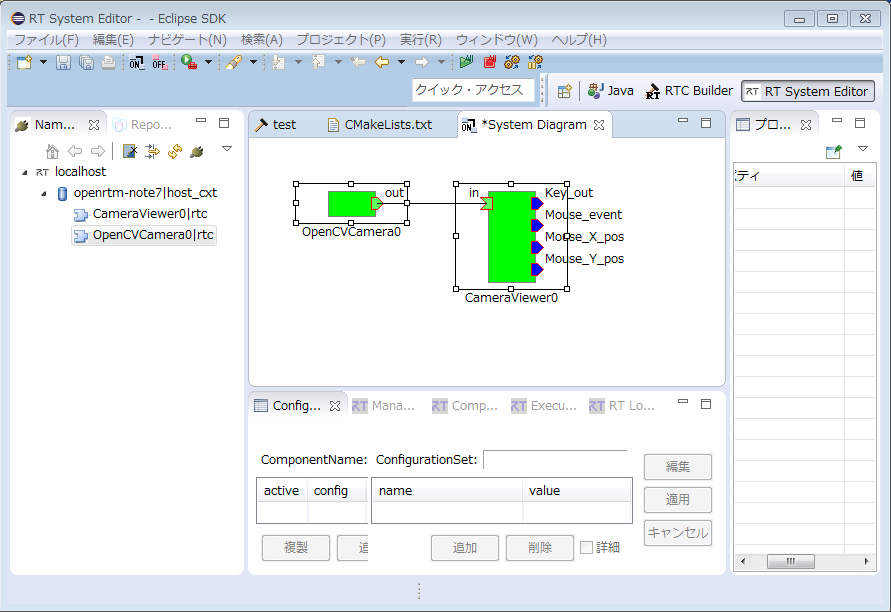
Example of executing OpenCVCamera component and CameraViewer component
OpenCVCamera execution example (RTSystemEditor)
CameraViewer execution example (monitor)
How to use
OpenCVCamera is a sample that acquires image data of a USB camera and displays it on a monitor with the CameraViewer component. You can also connect an Image processing OpenCV sample RT component between them to apply effects to image data.
- Procedure
- Start RTSystemEditor and open a new SystemEditor. See RTSystemEditor for details on how to use RTSystemEditor.
- Start both OpenCVCamera (openCVCamera.bat) and CameraViewer (CameraViewer.bat) components.
- To use the sample OpenCV image processing RT component, after installation, from Start> OpenRTM-aist 1.2.1 x86_64> C ++ _ OpenCV-Examples (Start in a 32bit environment> OpenRTM-aist 1.2.1 x86> Start from C ++ _ OpenCV-Examples).
- Since these components appear in the Name Service View of RTSystemEditor, drag both of them to SystemEditor.
- Connect the corresponding ports of both components. (Refer to RTSystemEditor execution example above)
- Right-click either component and select [Activate Systems].
- Use OpenCV's Flip
- Start the Flip component from Start> OpenRTM-aist 1.2.1 x86_64> C ++ _ OpenCV-Examples (in a 32-bit environment, start from Start> OpenRTM-aist 1.2.1 x86> C ++ _ OpenCV-Examples).
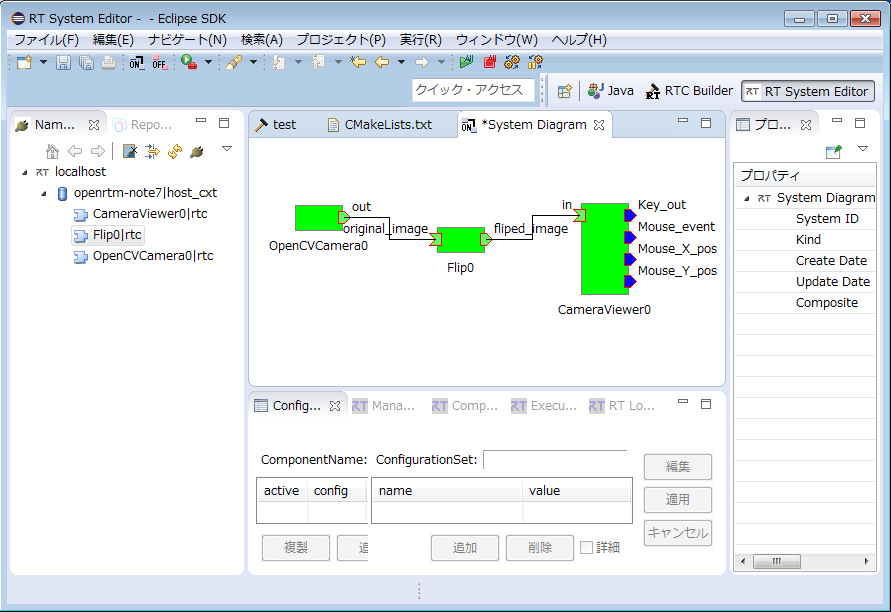
- Drag it onto the SystemEditor to display it, connect to both the OpenCVCamera and CameraViewer components and activate it. (See "Example of Flip execution (RTSystemEditor)" below)
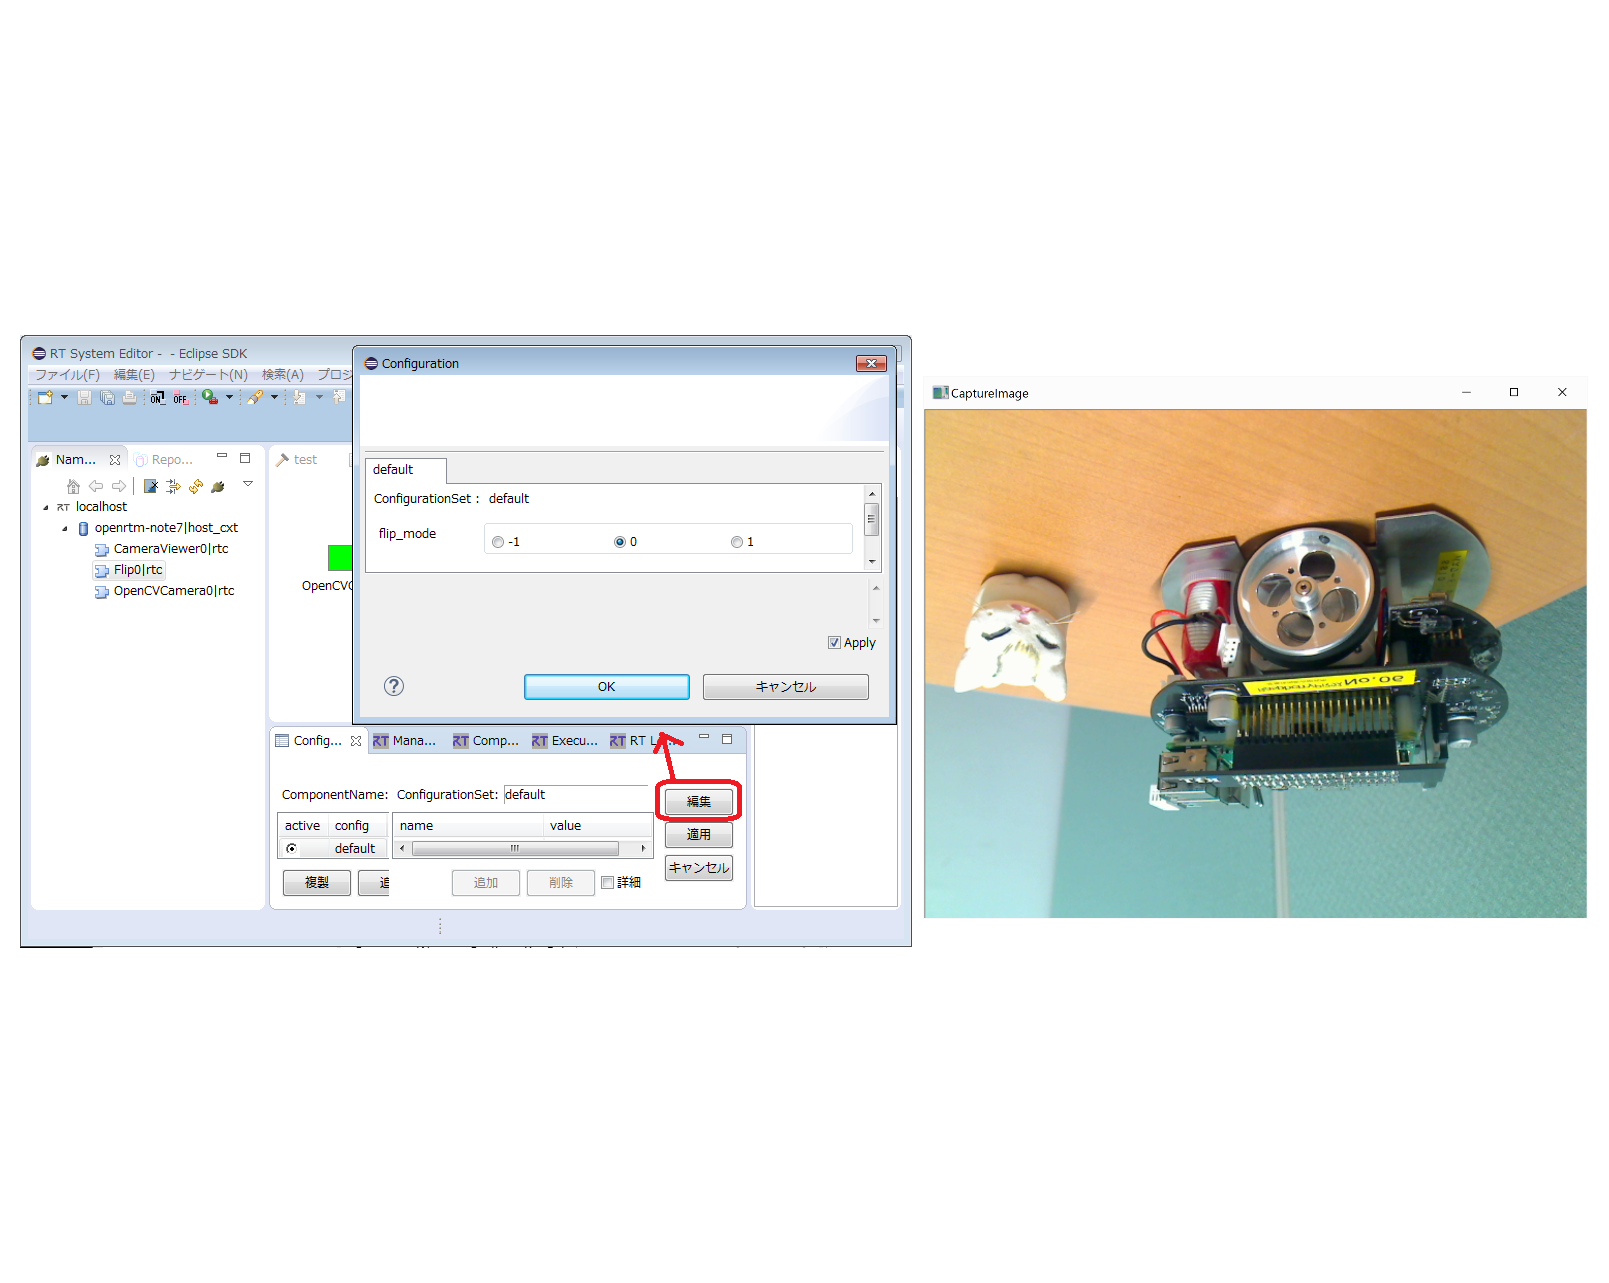
- Flip can change the output data by changing the value of Configure “flip_mode”. (Refer to "Change flip_mode (RTSystemEditor and monitor)" below.)
- Click here for the detailed usage and the explanation of Flip RT component. Example of Flip execution (RTSystemEditor)
- Click here for the detailed usage and the explanation of Flip RT component.
Change flip_mode (RTSystemEditor and monitor)
Other OpenCV Samples
| Startup command | Function | Configuration parameter |
| Affine.bat | Affine transforms the input image | Affine matrix |
| BackgroundSubtractionSimple.bat | Outputs the change from the image when the key was input in the input image | Parameter indicating the method of detecting image change |
| Binarization.bat | Converts an input image to a binary black and white image | Binarization threshold |
| DialationErosion.bat | Perform dialing / erosion processing | Binarization threshold |
| Edge.bat | Outputs the first-order derivative image in the X direction, the first-order derivative image in the Y direction, and the Laplacian image (second-order derivative image) | Aperture size |
| Findcontour.bat | Extract the outline and display the outline in the image. | Threshold for binarization before processing, level of layering, size of outline at the display, outline approximation method |
| Histgram.bat | Displays changes in histogram while changing brightness / contrast of black and white image | Brightness, contrast |
| Hough.bat | Line extraction by Hough transform | Hough transform parameters and drawing parameters of detected straight lines |
| Perspective.bat | Perspective conversion of image (Convert as viewed from below. | No item |
| RockPaperScissors.bat | Judgment of Goocho kipper in image. | Janken judgment threshold for solidity and missing interpolation parameter by dilation / reduction processing |
| Rotate.bat | Rotates and scales images | Counterclockwise rotation angle and reduction / enlargement ratio |
| Scale.bat | Processes images for scaling | Scale in the X and Y directions |
| Sepia.bat | Separates images | Sepia color satulation / hue |
| Translate.bat | Performs two-dimensional translation of images | Moving direction |
OpenCV Sample Code Build Procedure
On Linux, the bulk installation script can not install OpenCV sample code. To install the OpenCV sample code, you need to build executable code by using the source code. The source code can be gotten from OpenRTM.org github repository. The procedure is following.
- Install OpenRTM-aist by the bulk installation script. The command option is depends on what language you want to use with OpenRTM-aist. (In case of the following steps, you must install c++ version and Python version at least. Also to execute the components might require OpenRTP. Please specify the options based on your requirements.) For example, the following commands can be used.
$ sudo sh pkg_install_ubuntu.sh -l all --yes
- Install OpenCV3.4 or later version (Currently, only 3.4.5 is tested. In some case, build from source code might be required.)
- By using following steps, getting the source code of OpenCV sample and build it.
 $ sudo apt-get install git
 $ git clone https://github.com/OpenRTM/ImageProcessing.git
 $ cd ImageProcessing/opencv
 $ mkdir build
 $ cd build
 $ cmake ..
 $ make
 $ ./build_linux_package.sh
 $ sudo dpkg -i imageprocessing_1.2.1_amd64.deb
