Installation and start-up
This section explains how to install and start RTCBuilder.
(G)Installing RTCBuilder
RTCBuilder is an Eclipse plugin, so you need to install Eclipse itself and other dependent Eclipse plugins first.
For installation, please refer to OpenRTM Eclipse tools installation.
(G)Starting RTCBuilder
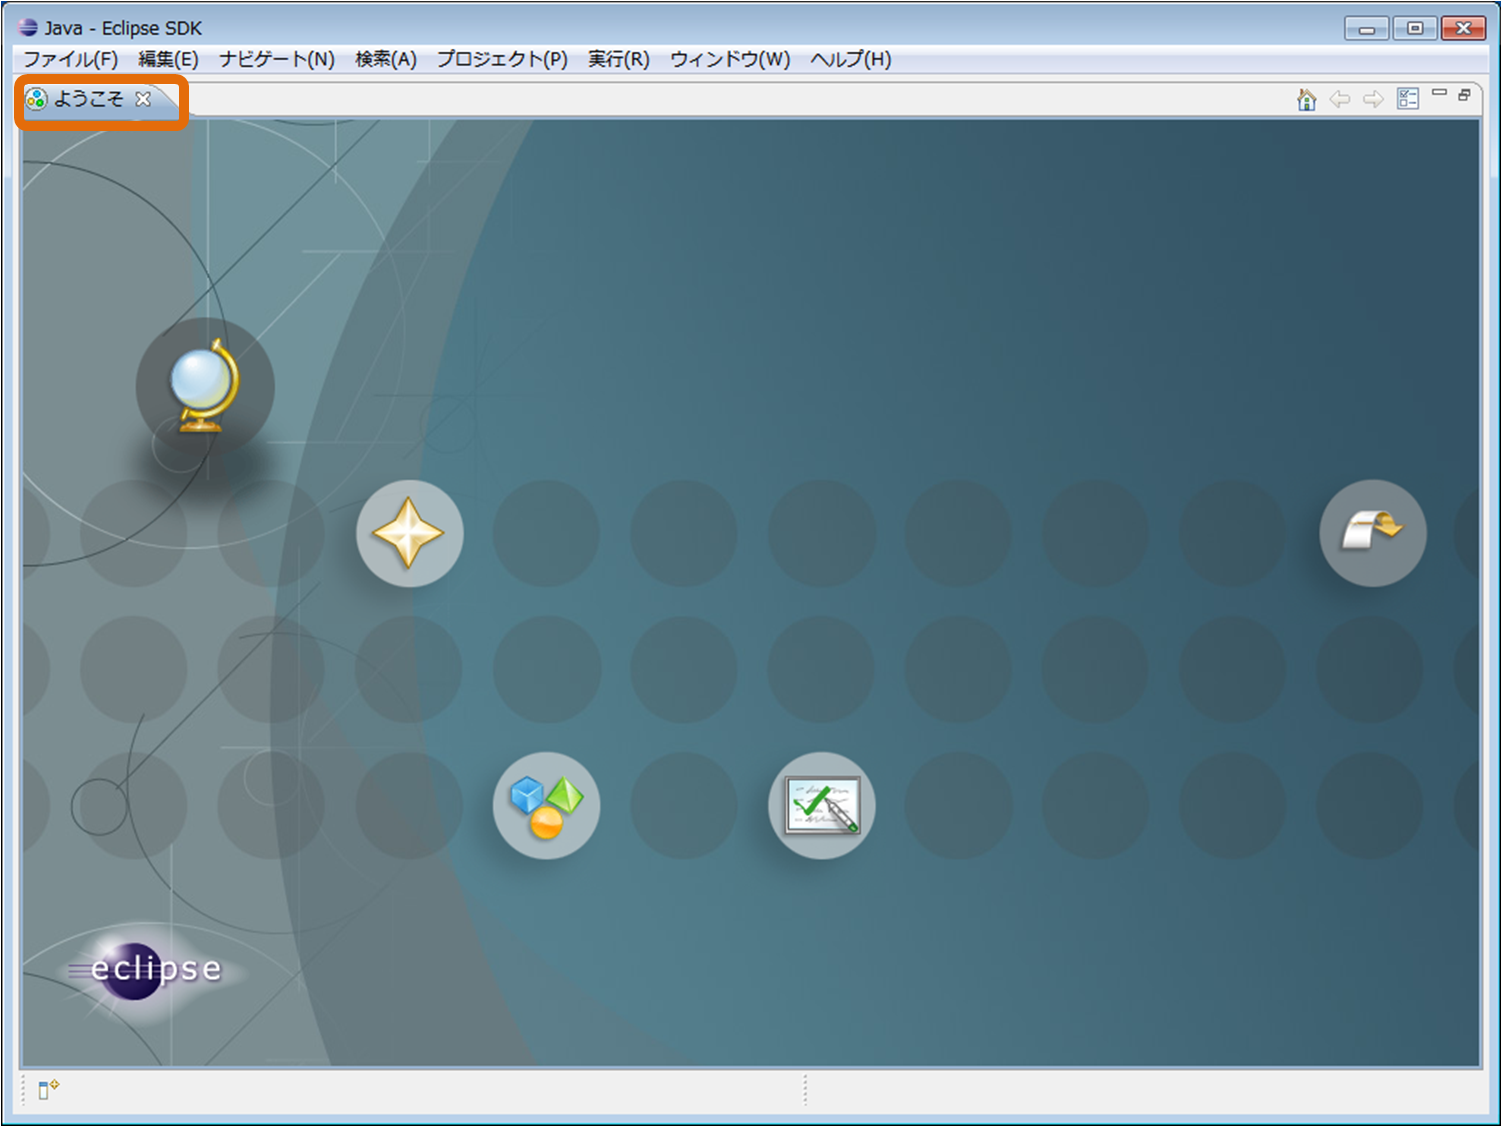
After installing Eclipse for the first time, the following "Welcome" screen will be displayed.
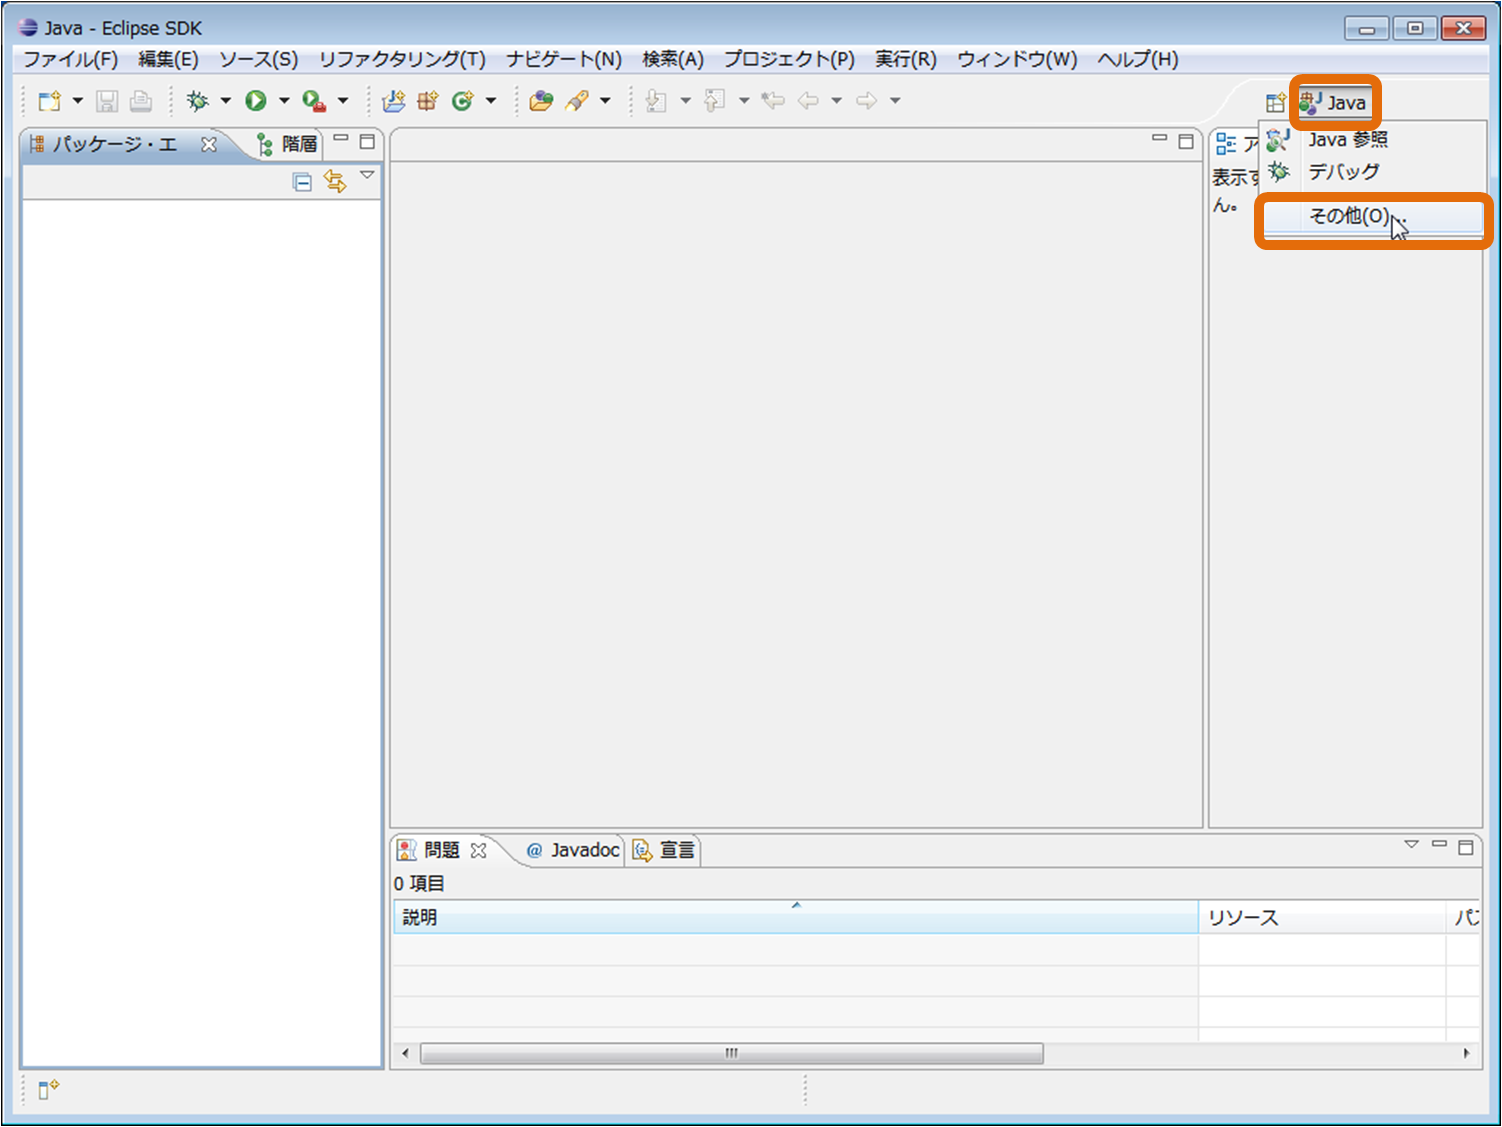
Click the "X" button in the upper left corner of this "Welcome" screen, the following page will be displayed. Click the [Open Perspective] button in the upper right and select "Other" from the pull down.
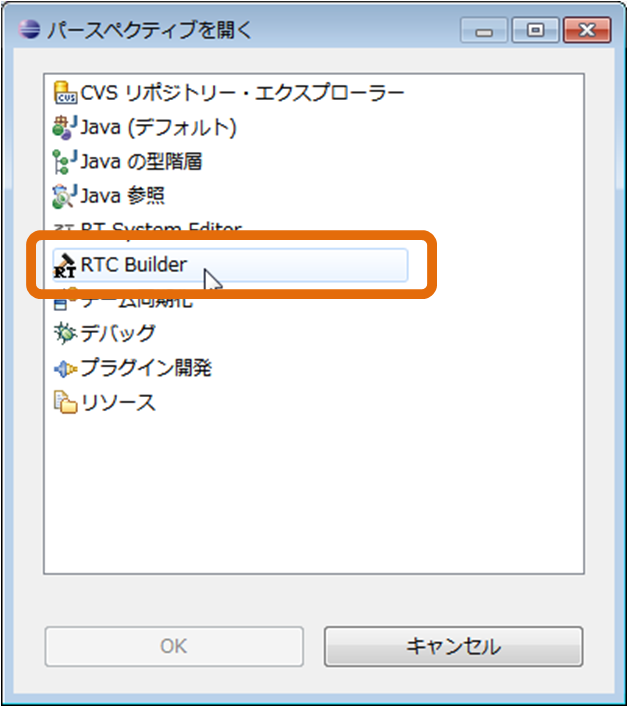
Select "RTC Builder" and click the [OK] button.
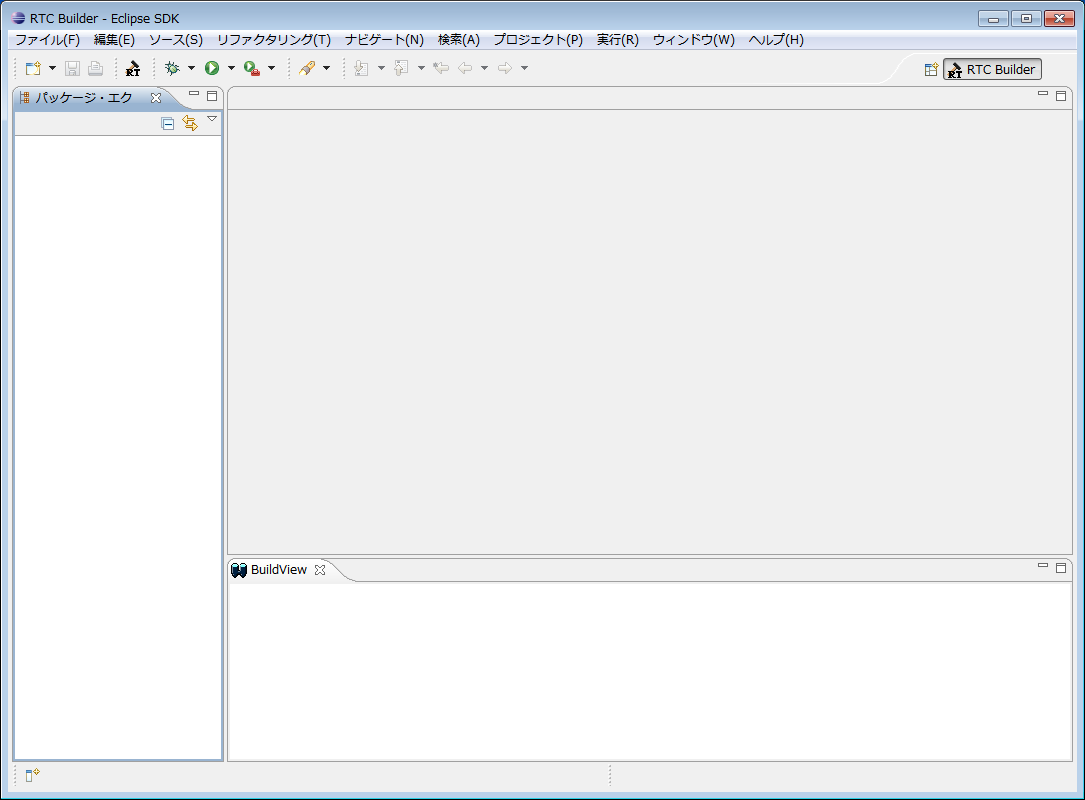
RTCBuilder will start.
(G)Starting the RTC Profile Editor
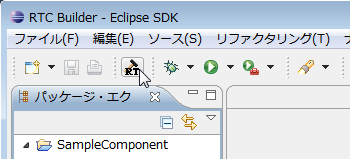
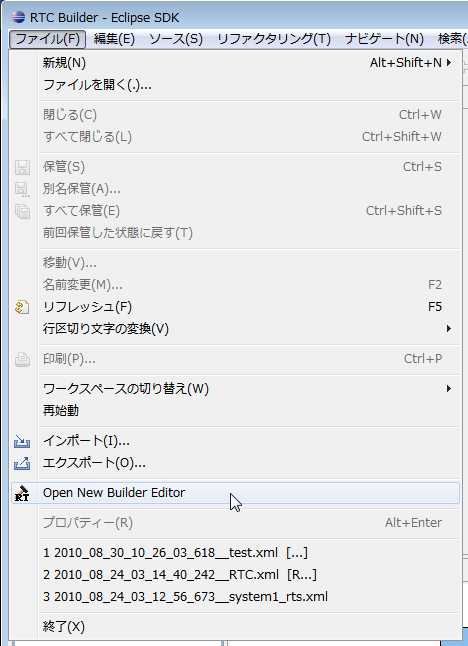
To open the RTC Profile Editor, click the [Open New Rtc Builder Editor] button on the toolbar or select [File] > [Open New Builder Editor] from the menu bar.
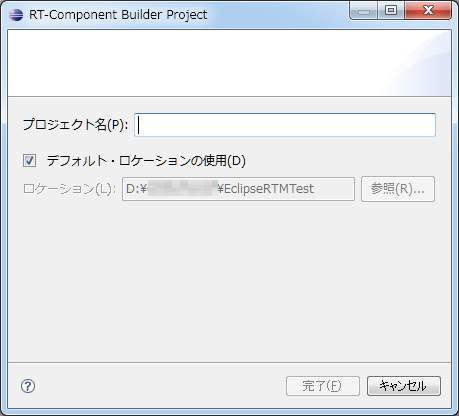
In the new project creation dialog displayed, enter the project name.
Code generated using RTC Builder under the project created here, RTCProfile, etc. are saved. By default, the project is created under the workspace you are using (in the directory set to "location"). If you want to create a project anywhere, turn off the "Use default location" checkbox and specify the location in "Location".
A project with the specified name is generated and added to the package explorer.
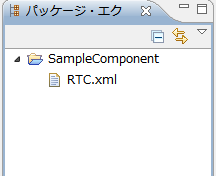
RTC profile XML (RTC.xml) with the default value is automatically generated in the generated project.
