
creating an msi with cpack (windows)
✏️ Edit this page on GitHub#contents(4)
Introduction
The msi installer is created by building with Visual Studio.
Creation Procedure When Not Including doxygen Documentation
- By default, the documentation build is OFF, so it is not generated.
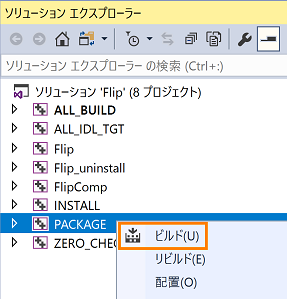
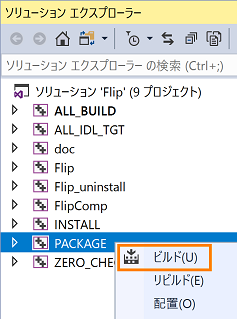
From Solution Explorer in Visual Studio, right-click “PACKAGE”, select “Build”, and execute it.
Creation Procedure When Including doxygen Documentation
Change the following line in CMakeLists.txt directly under the project folder from OFF to ON.
For a C++ RTC, this is around line 86, and for a Python RTC, around line 77.
option(BUILD_DOCUMENTATION "Build the documentation" ON) ※この行の OFF を ON に書き換えます。(デフォルトは OFF)
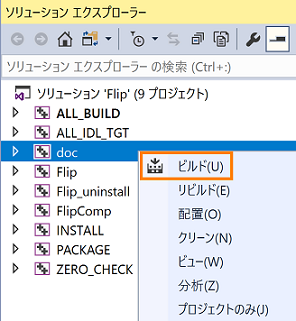
- From Solution Explorer in Visual Studio, right-click “doc”, select “Build”, and execute it.
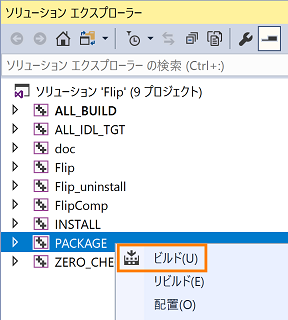
- After the build of “doc” is complete, right-click “PACKAGE” and select “Build”.
[Notes]
- Confirm that “BUILD_DOCUMENTATION” is checked in CMake configure.
- Build “doc” first, and then build “PACKAGE”. If you build “PACKAGE” without building “doc”, an error will occur.
msi Installer Storage Location and File Name
If it is created successfully, it will be saved in [build] under the project directory.
The file name will be “RTC project name + RTC version number_OpenRTM-aist version number_architecture”.
(Example) Flip100_rtm120_win64.msi
- The architecture will be [win32] or [win64].
The version number is in a format with dots removed; [1.0.0] becomes [100].
Installing and Uninstalling an msi
Installation
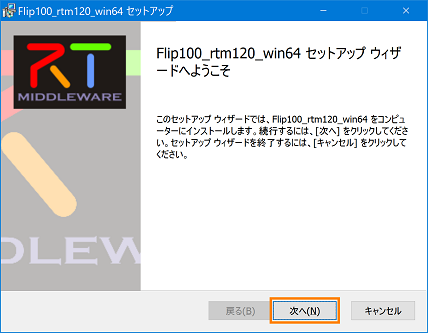
- Double-click the created msi installer.
- Click [Next].
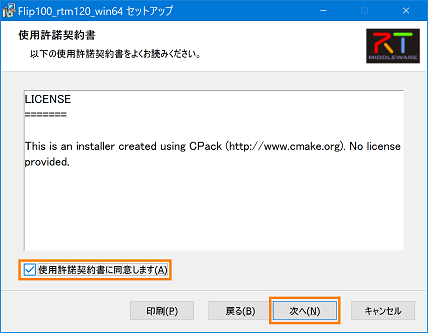
- Check [I accept the license agreement] and click [Next].
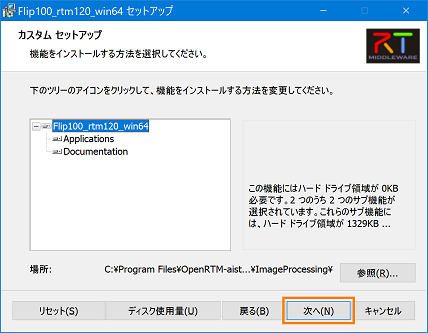
- Click [Next].
The default installation path is as follows.
(Example) C:\Program Files\OpenRTM-aist\1.2.0\Components\c++\ImageProcessing<br>- ImageProcessing is the name specified in “Module Category” in RTCBuilder.
- ImageProcessing is the name specified in “Module Category” in RTCBuilder.
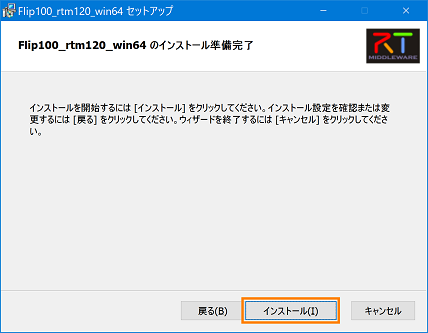
- Click [Install] to start the installation.
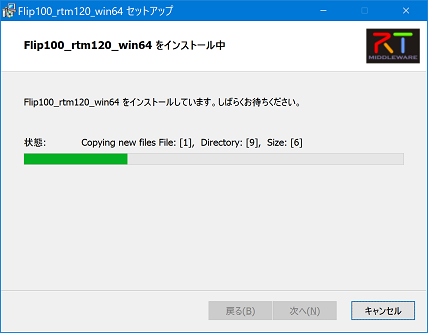
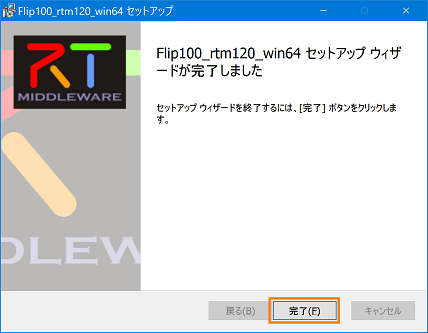
- Click [Finish] to exit the installer. After installation, it will be registered in the Start menu.
GUID Settings for Upgrades
When upgrading, it is necessary to set a GUID in order to check the version that is already installed.
Because the GUID is not set by default, a new GUID is assigned every time PACKAGE is built in Visual Studio.
By setting the GUID in advance, it is possible to determine whether it is an upgrade or a new installation.
The procedure for setting the GUID is shown below.
- From Solution Explorer in Visual Studio, right-click “PACKAGE”, select “Build”, and execute it.

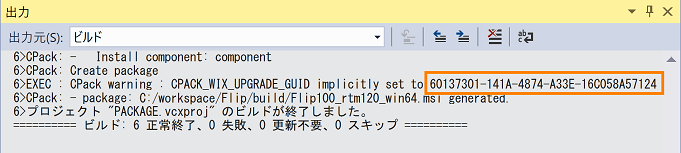
- When the build is complete, the GUID will be displayed in the output screen below. Select it and copy it.
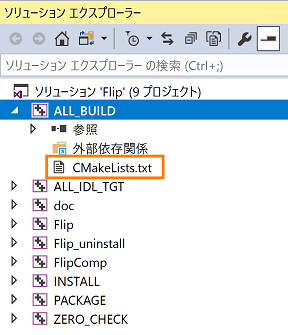
- From Solution Explorer, expand “ALL_BILD” and click CMakeLists.txt.
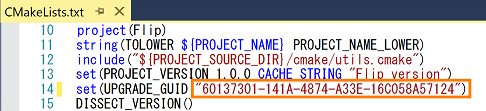
- Paste the GUID copied in step 2 as shown in the following screen, and overwrite-save CMakeLists.txt.
- Again, from Solution Explorer, right-click “PACKAGE”, select “Build”, and execute it.
[Supplement]
In addition to the above, there is also a method of creating a new GUID.
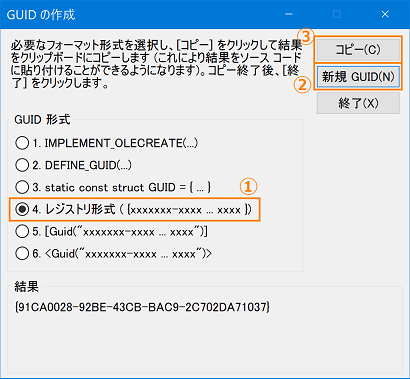
From the Visual Studio menu, select [Tools] > [Create GUID] to display the “Create GUID” dialog.
- In [GUID format], select [4. Registry Format…].
- Click the [New GUID] button.
- Click the [Copy] button.
- Click the [Exit] button to close the dialog.
- Paste it into CMakeLists.txt as shown in the following screen and overwrite-save it. * Paste only the numbers.
Uninstallation
The uninstallation procedure is as follows.
How to Remove from Control Panel
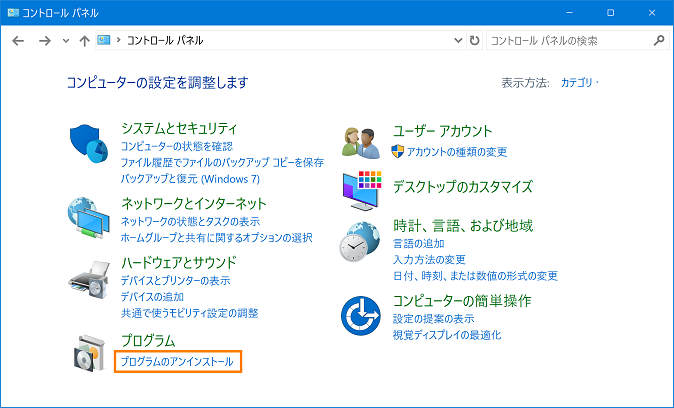
- Open [Control Panel] and click [Uninstall a program].
- Select the installed package name and click [Uninstall].
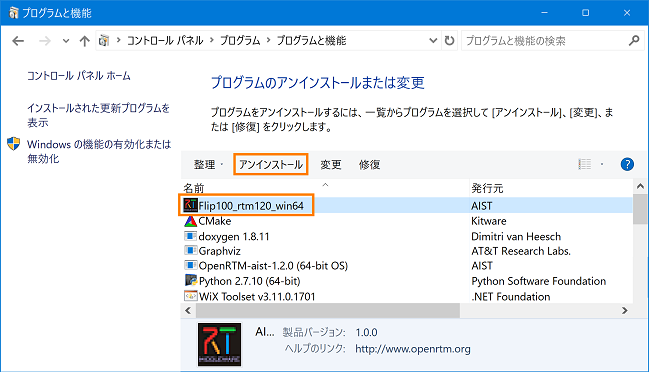
- If the display has disappeared from the list in Control Panel, uninstallation is complete.
How to Remove from the Installer
- Double-click the created msi installer.
- Click [Remove].
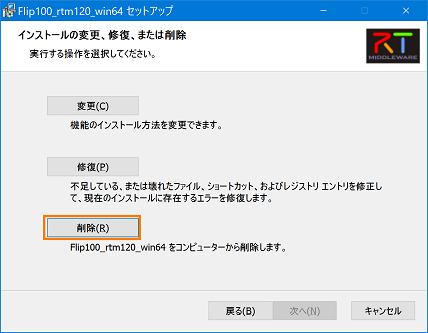
- Click [Remove].
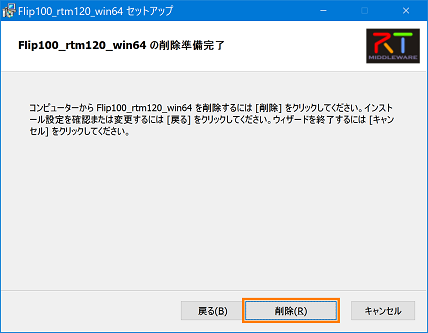
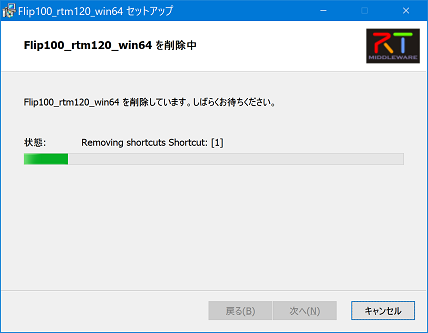
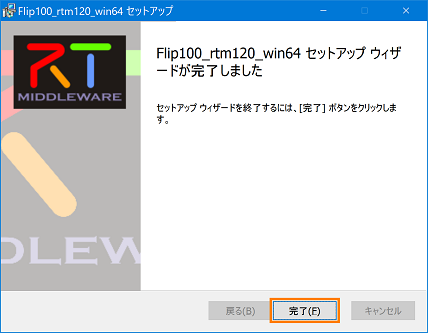
- Click [Finish] to exit the installer.
IDL Compilation Processing for Python RTCs with Service Ports
Python RTCs with service ports execute IDL compilation when the package is installed.
This behavior is implemented by idlcompile.bat and delete.bat in the project folder during IDL compilation execution, so be careful not to delete these files, as the function will stop working.
By uninstalling from Control Panel, files generated after IDL compilation execution will also be deleted.
The following is a list of files installed by the msi installer. Files marked with ★ are generated by IDL compilation.
 tree /f インストールディレクトリー\OpenRTM-aist\1.2.0\Components\Python\Category\FlipGUI
 C:\インストールディレクトリー\OpenRTM-aist\1.2.0\Components\Python\Category\FlipGUI
 │  BasicDataType_idl.py ★
 │  CalibrationService_idl.py ★
 │  delete.bat
 │  ExtendedDataTypes_idl.py ★
 │  idlcompile.bat
 │  InterfaceDataTypes_idl.py ★
 │  RTC.xml
 │  rtutil.py
 │  setup.py
 │  flipgui.py
 │  FlipGUIComp.py
 │
 ├─idl
 │   BasicDataType.idl
 │   CalibrationService.idl
 │   CMakeLists.txt
 │   ExtendedDataTypes.idl
 │   InterfaceDataTypes.idl
 │
 ├─ImageCalibService ★
 │   __init__.py ★
 │
 ├─ImageCalibService__POA ★
 │   __init__.py ★
 │
 ├─RTC ★
 │   __init__.py ★
 │
 └─RTC__POA ★
       __init__.py ★